Mobile Document Scanning
Below are instructions for using mobile applications to scan a document as a picture or PDF. This is useful for uploading hand-written work for quizzes or tests.
Note: The tutorials were written using either an iPhone or Android phone. The button icons and button locations may be different if you are using an alternate device.
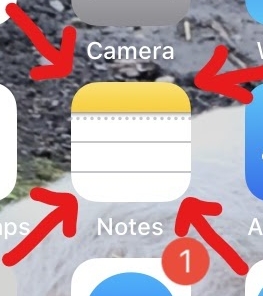
- Go to Apple’s official “Notes” app on your iPhone or Apple device.
- Open an existing note, or create a new one by tapping the “pen and paper” shaped icon on the lower right-hand side of the screen.
- Tap on the “+” icon in the bottom center of the screen OR select the Camera option to see “Scan Documents” as an option (Could be in your keyboard as well! -see below)
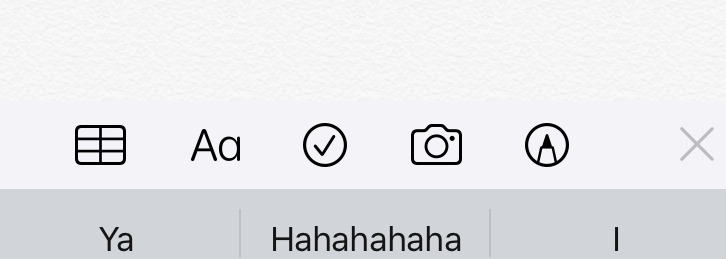
- Choose "Scan Documents" from the options that pop up.
- Hold your phone in front of the document you want to scan.
- If the scanner is in Auto Mode, the app will automatically detect the document and capture the scan. In Manual Mode, you’ll have to snap a photo yourself. You can change which mode you’re in on the upper right-hand side of the screen.
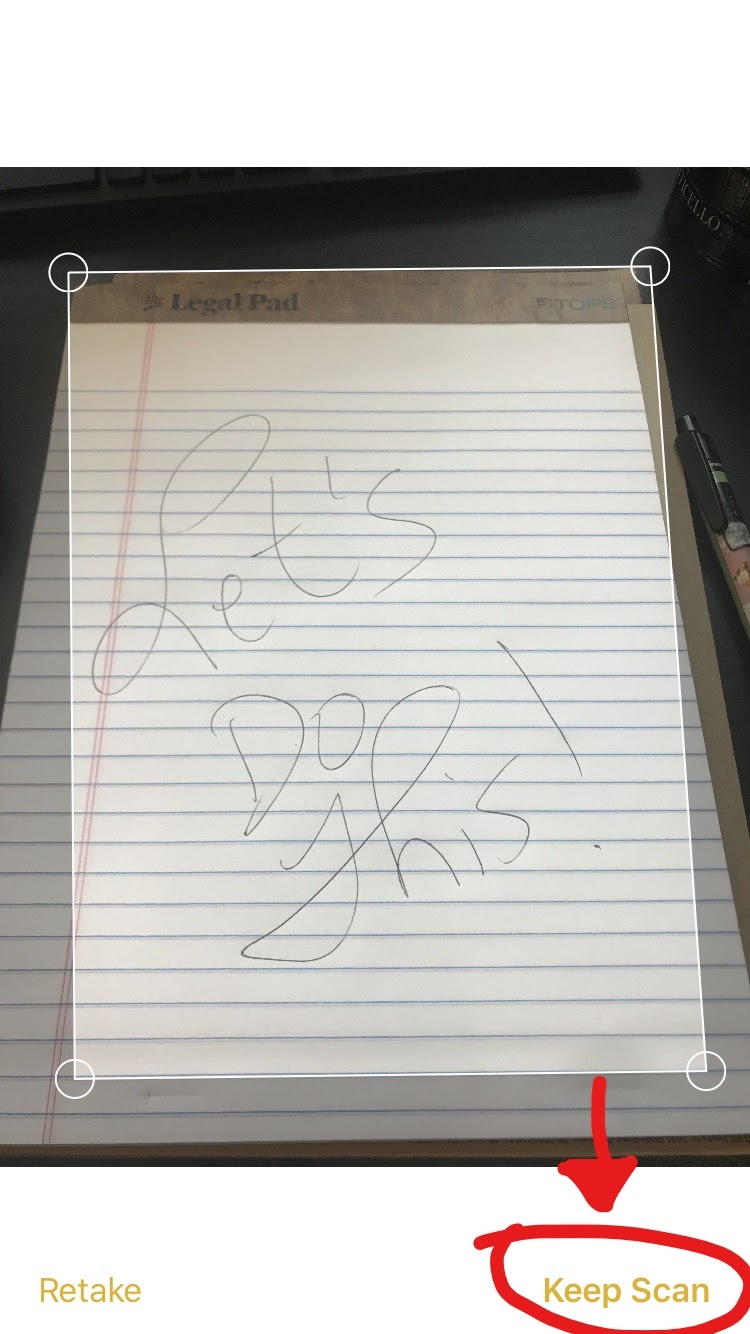
- If you need to adjust the scan, you can drag the corners of the highlighted box.
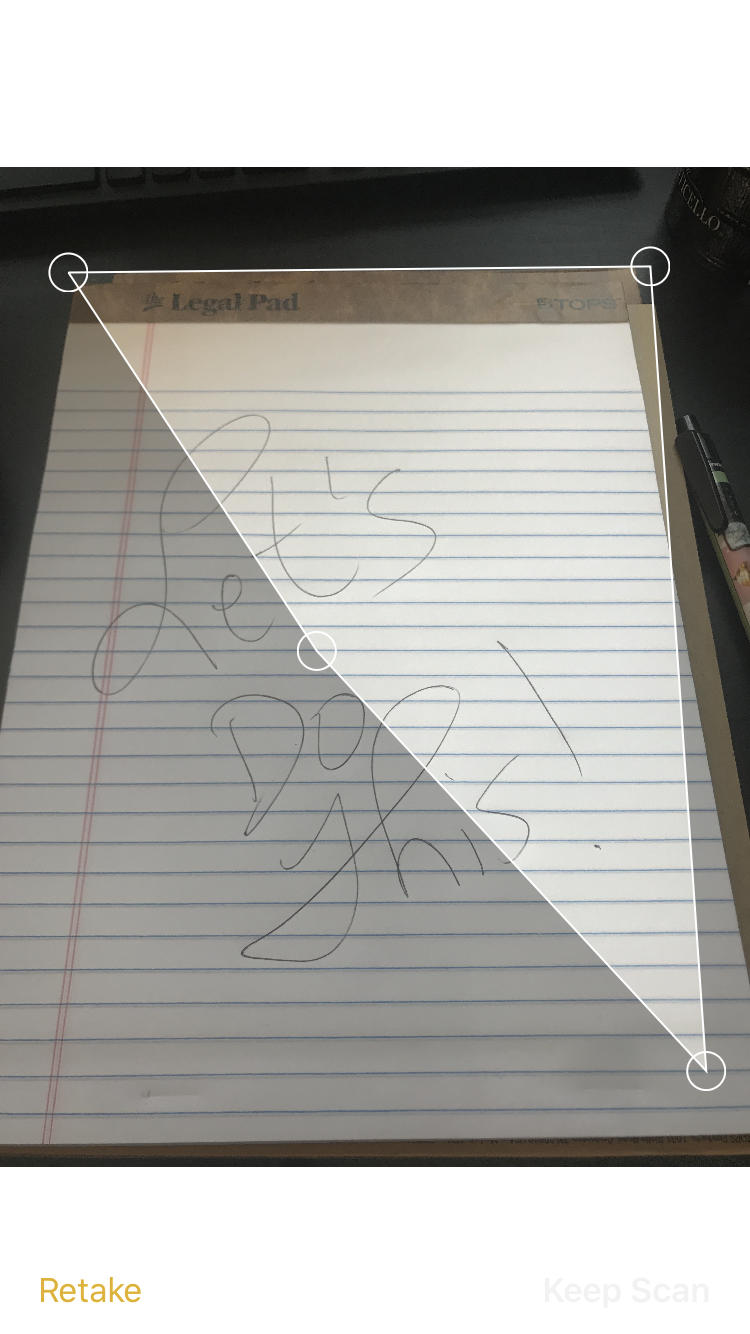
- At the bottom, press “Keep Scan” if you are satisfied and wish to save it, this will also allow you to continue if you have additional pages. Automatically discard any image and rescan it (tap "Retake" instead).
- After “Keep Scan,” in the new camera page, press the center camera button to scan an additional page OR hit "Save" on the lower right-hand side when you’re done. You now have a PDF of your document in your Notes.
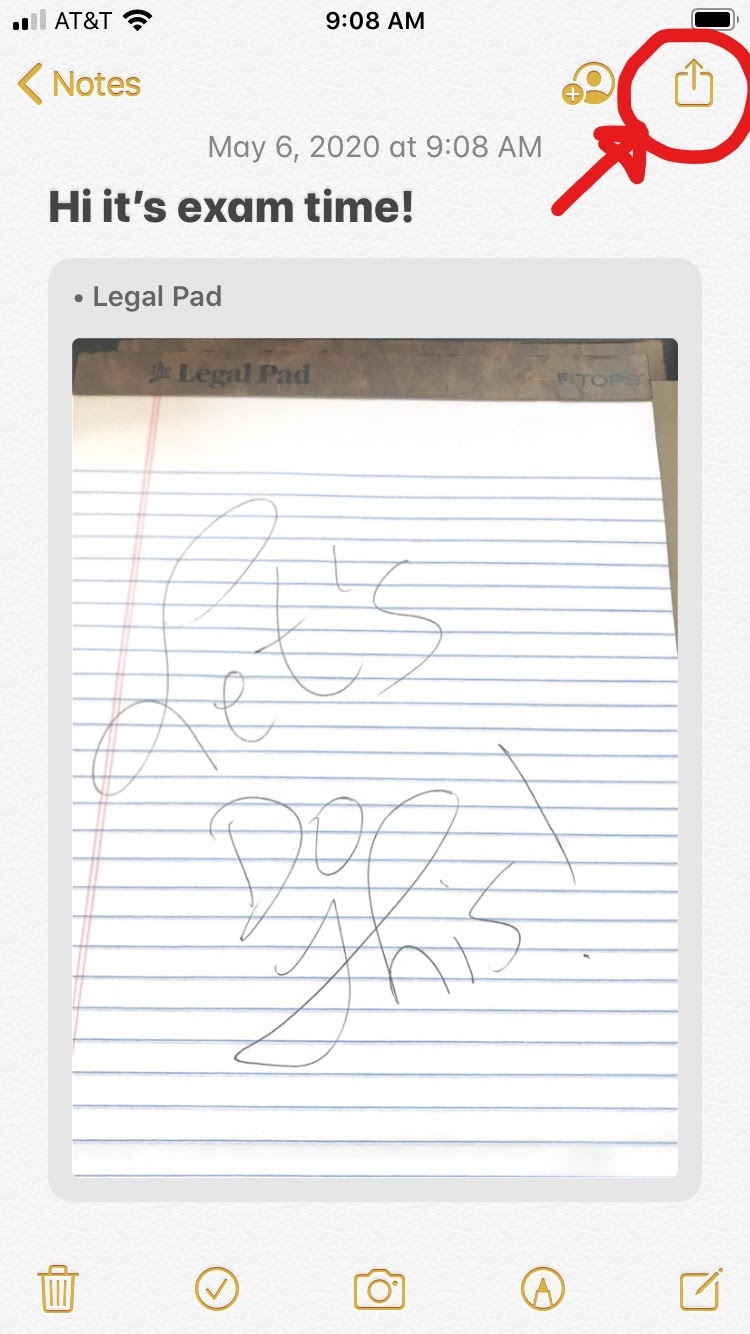
- Tap on the .pdf to view it. At the top right of the screen tap the “page with arrow” shaped Icon. Tap “Mail” and enter your email address to send yourself a copy of the PDF from your phone.
- Download ‘Microsoft Office Lens’ App on device
- Lay out what you want to scan on a flat surface
- Open App on device
- The app functions similar to your in-device camera.
- The picture does not have to be perfectly straight BUT all content must be clearly within the orange outlined box
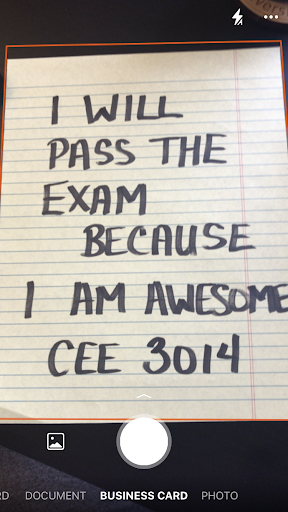
- When centered, press the round, white, ‘Capture’ button on the bottom center of the screen.
- The capture will color correct and straighten the content in the screen capture. If all of your content is not displayed in the screen capture, you will need to take the picture again.
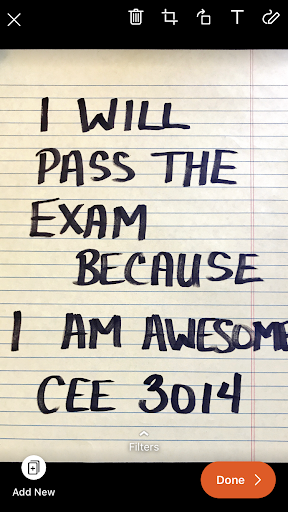
- Select the orange ‘Done’ button at the bottom right-hand corner
- You will now be on an 'Export To' screen where you are able to select the way you would like to upload your work.
- If you have Canvas on your device, you can select Canvas, the course, and the particular assignment you require
- If you do not have Canvas, select another option such as email, OneNote, photo gallery to save/send
- If you have Canvas on your device, you can select Canvas, the course, and the particular assignment you require
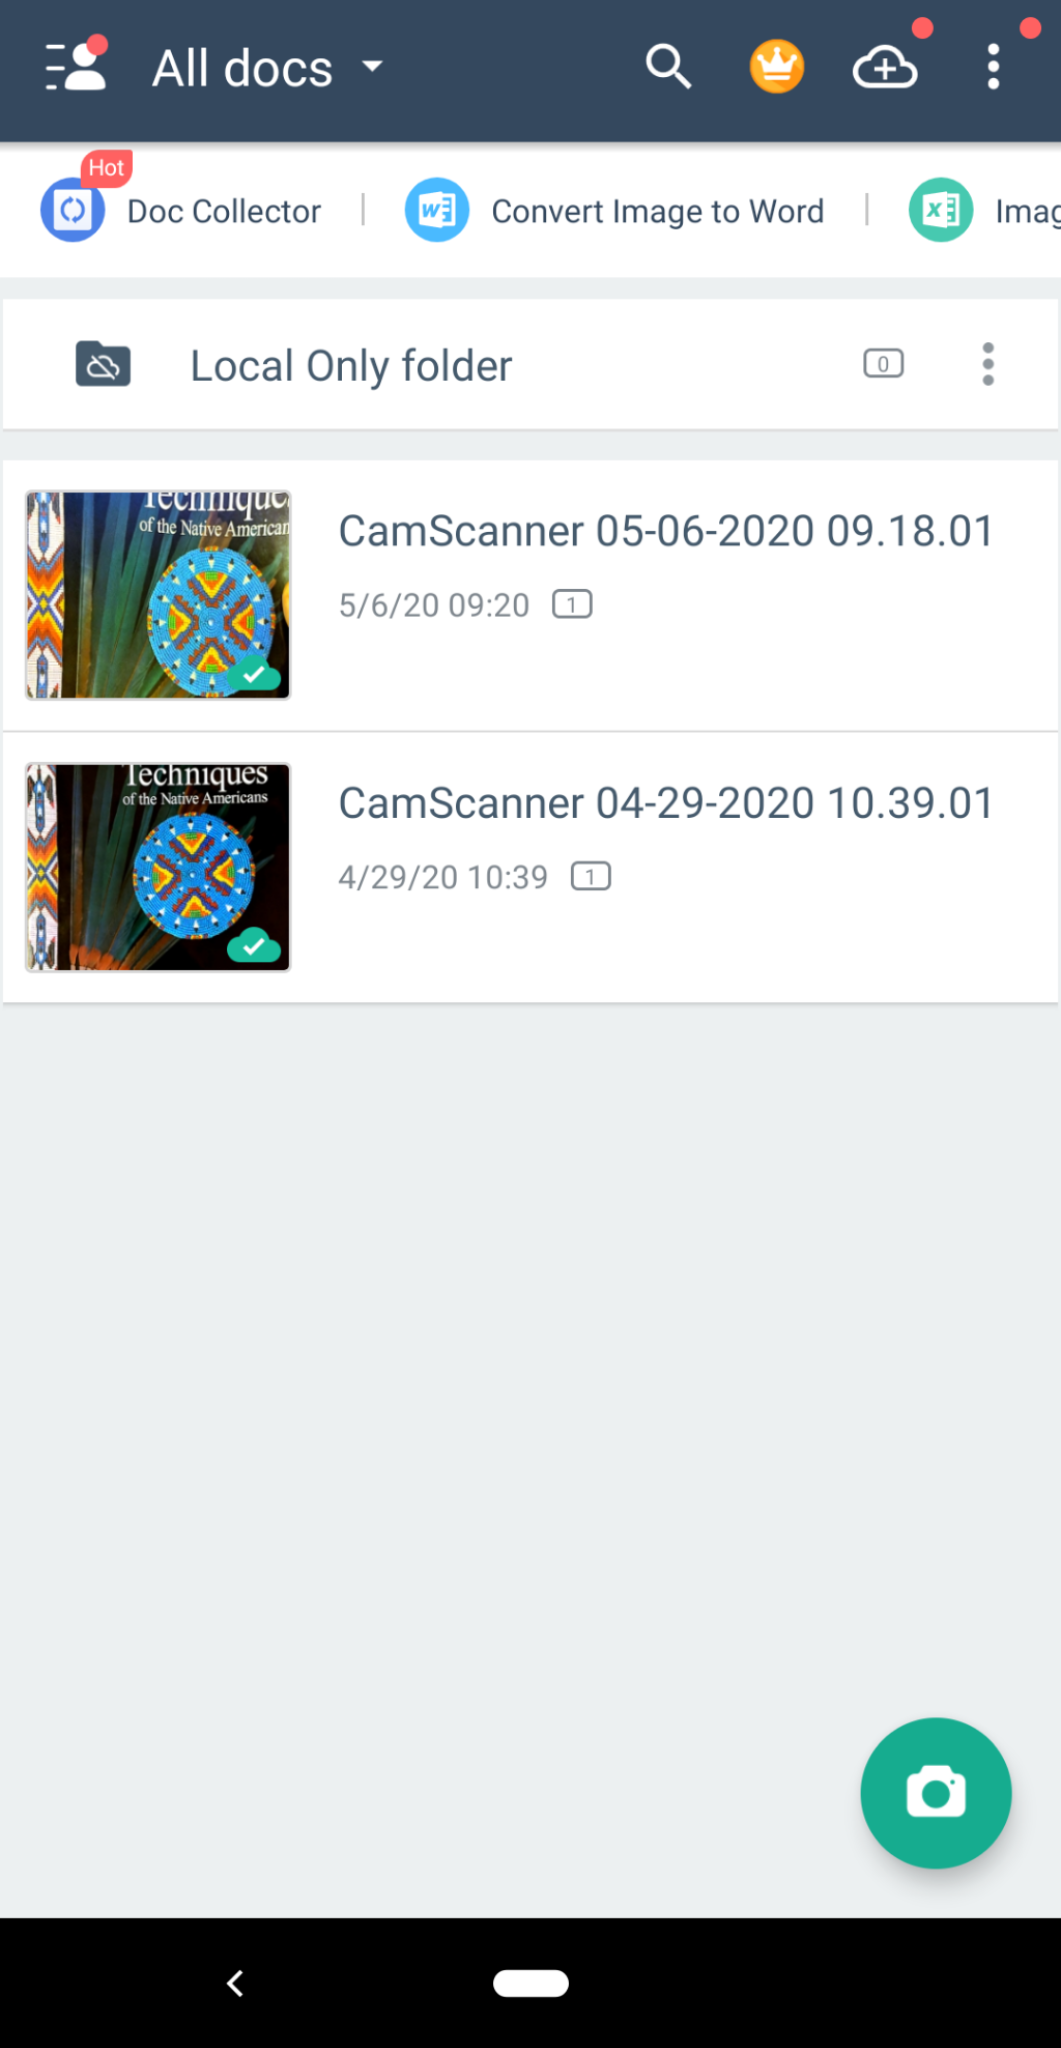
- When you open the app there will be a list of previously taken images, if you have taken any. In the bottom right-hand corner of that screen there will be a button with a Camera in it. Click that for a new scan.
- At the bottom near the Capture button there will be two buttons, a Single mode button and a Batch mode button. If you are just scanning one side of one page, use the Single mode. If you have multiple sides of a page or multiple pages, use the Batch mode.
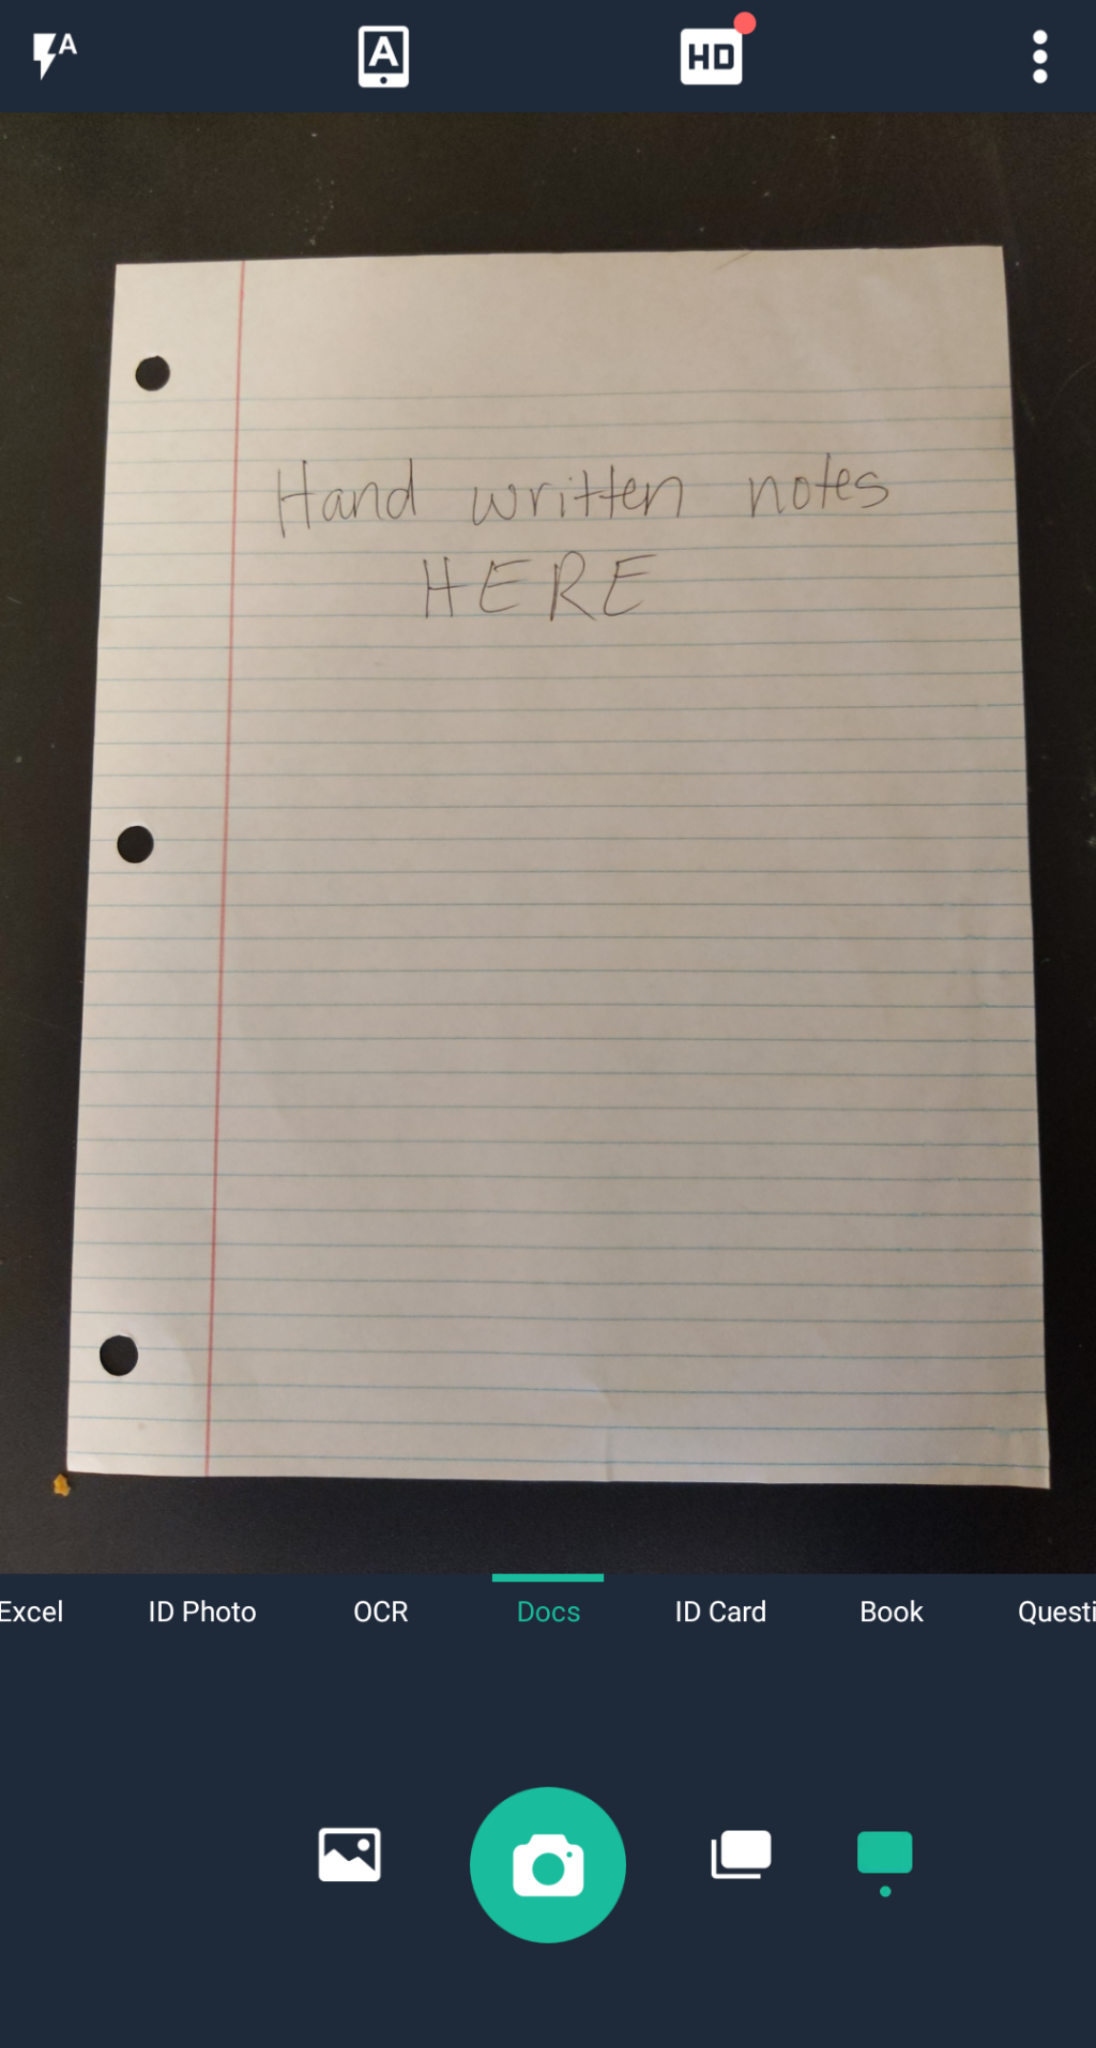
- You can also swipe left or right for different types of documents to scan. The default is Docs. But there are also options for Book, ID Photo, and ImageToExcel.
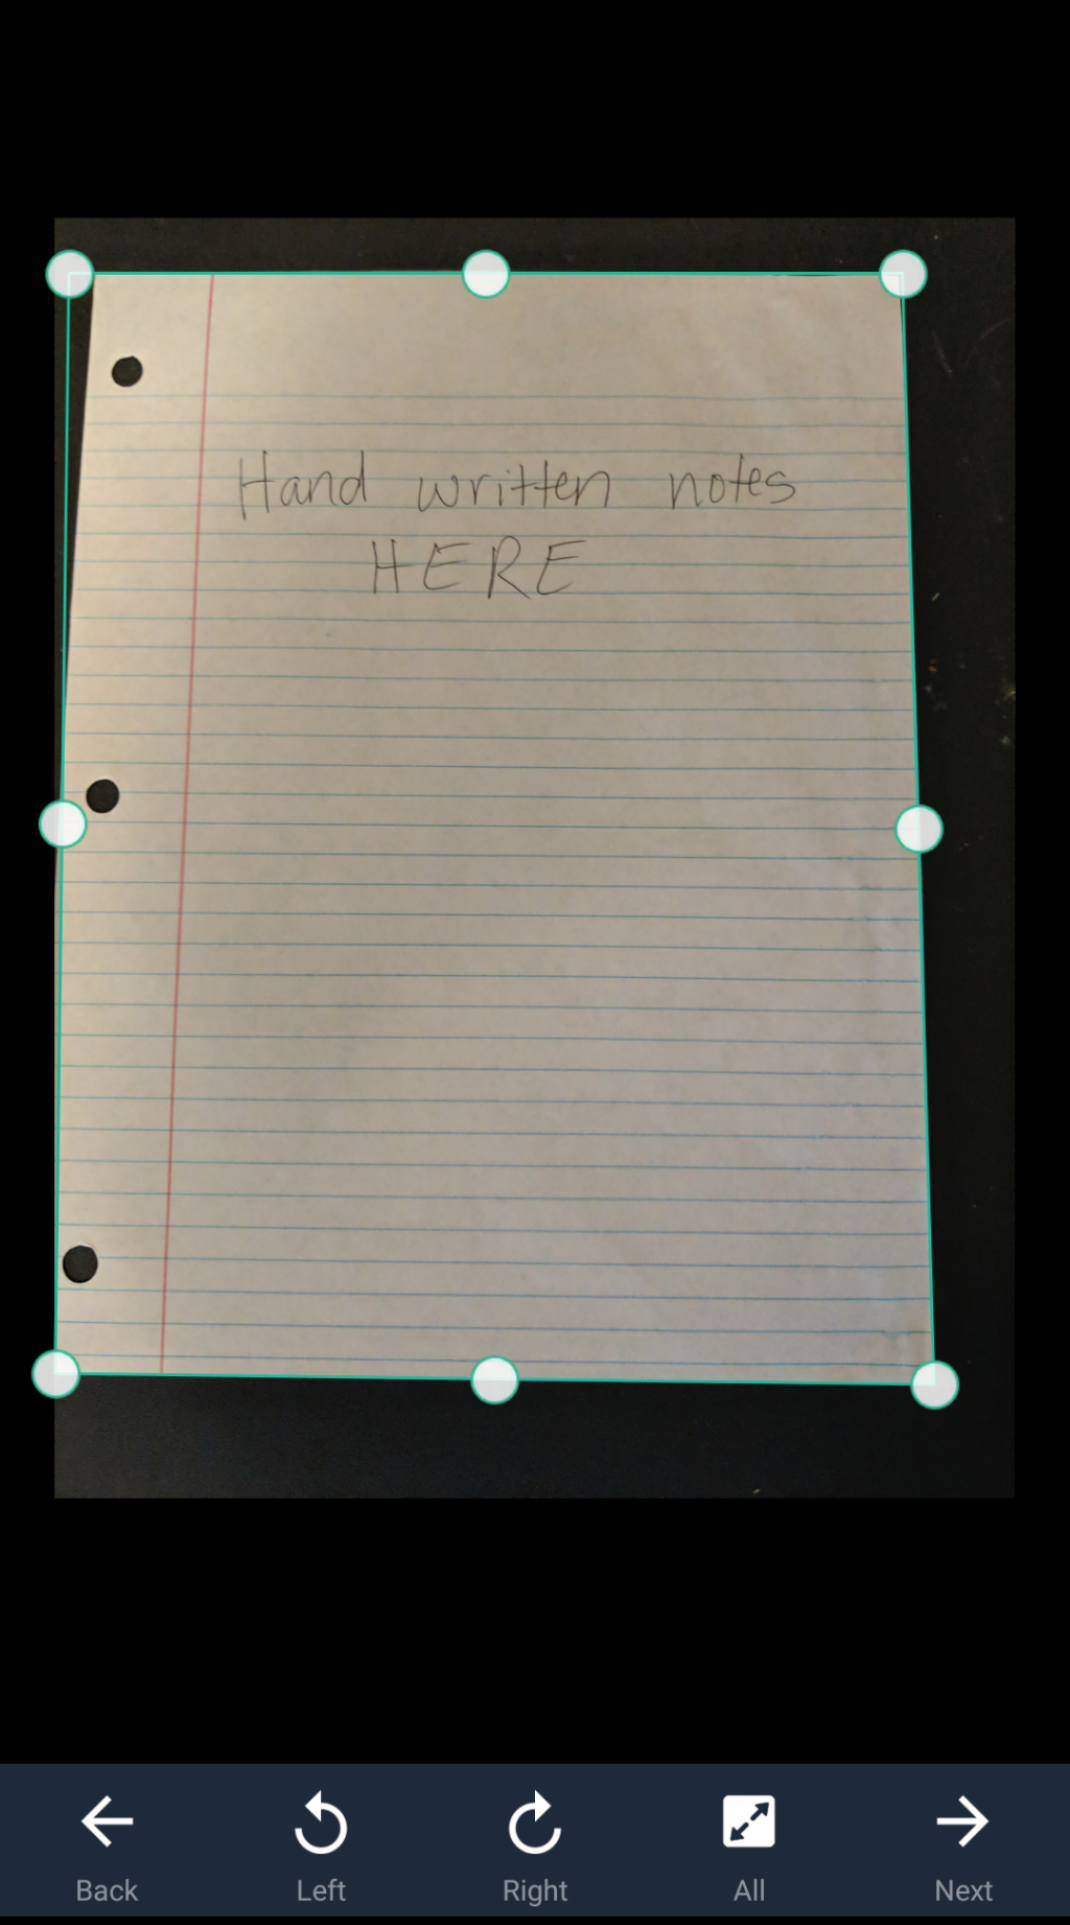
- Once you capture the photo, you can move the box around to edit out any background. When done click Next.
- The app will auto-correct to a flat document and color correct using "Magic Color". At this point you can edit the color, contrast, brightness, and other photo correction options.
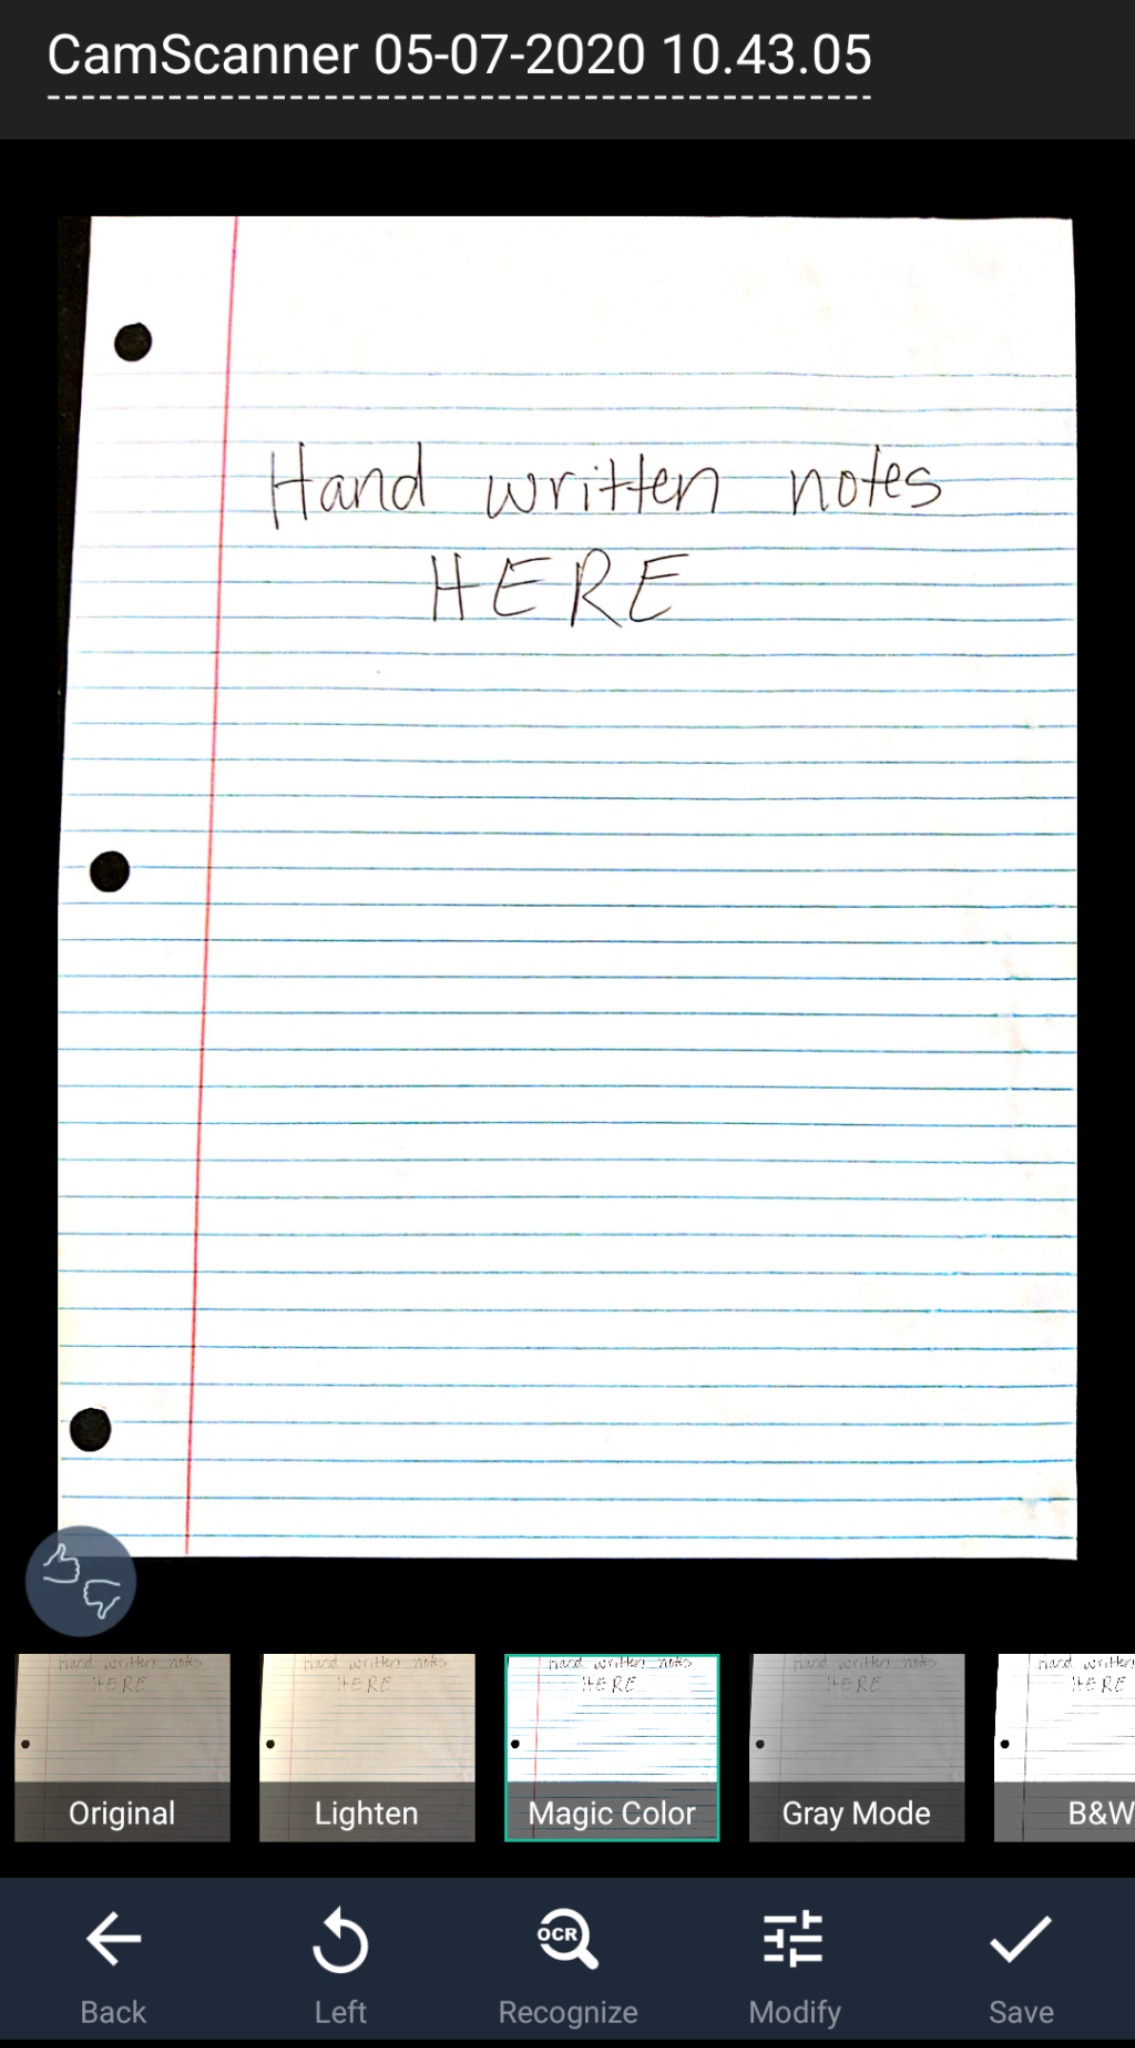
- When you are done editing your photo, click Save.
- This will save the image as a PDF and give you the option to add pages if you forgot to click the Batch mode during photo capture.
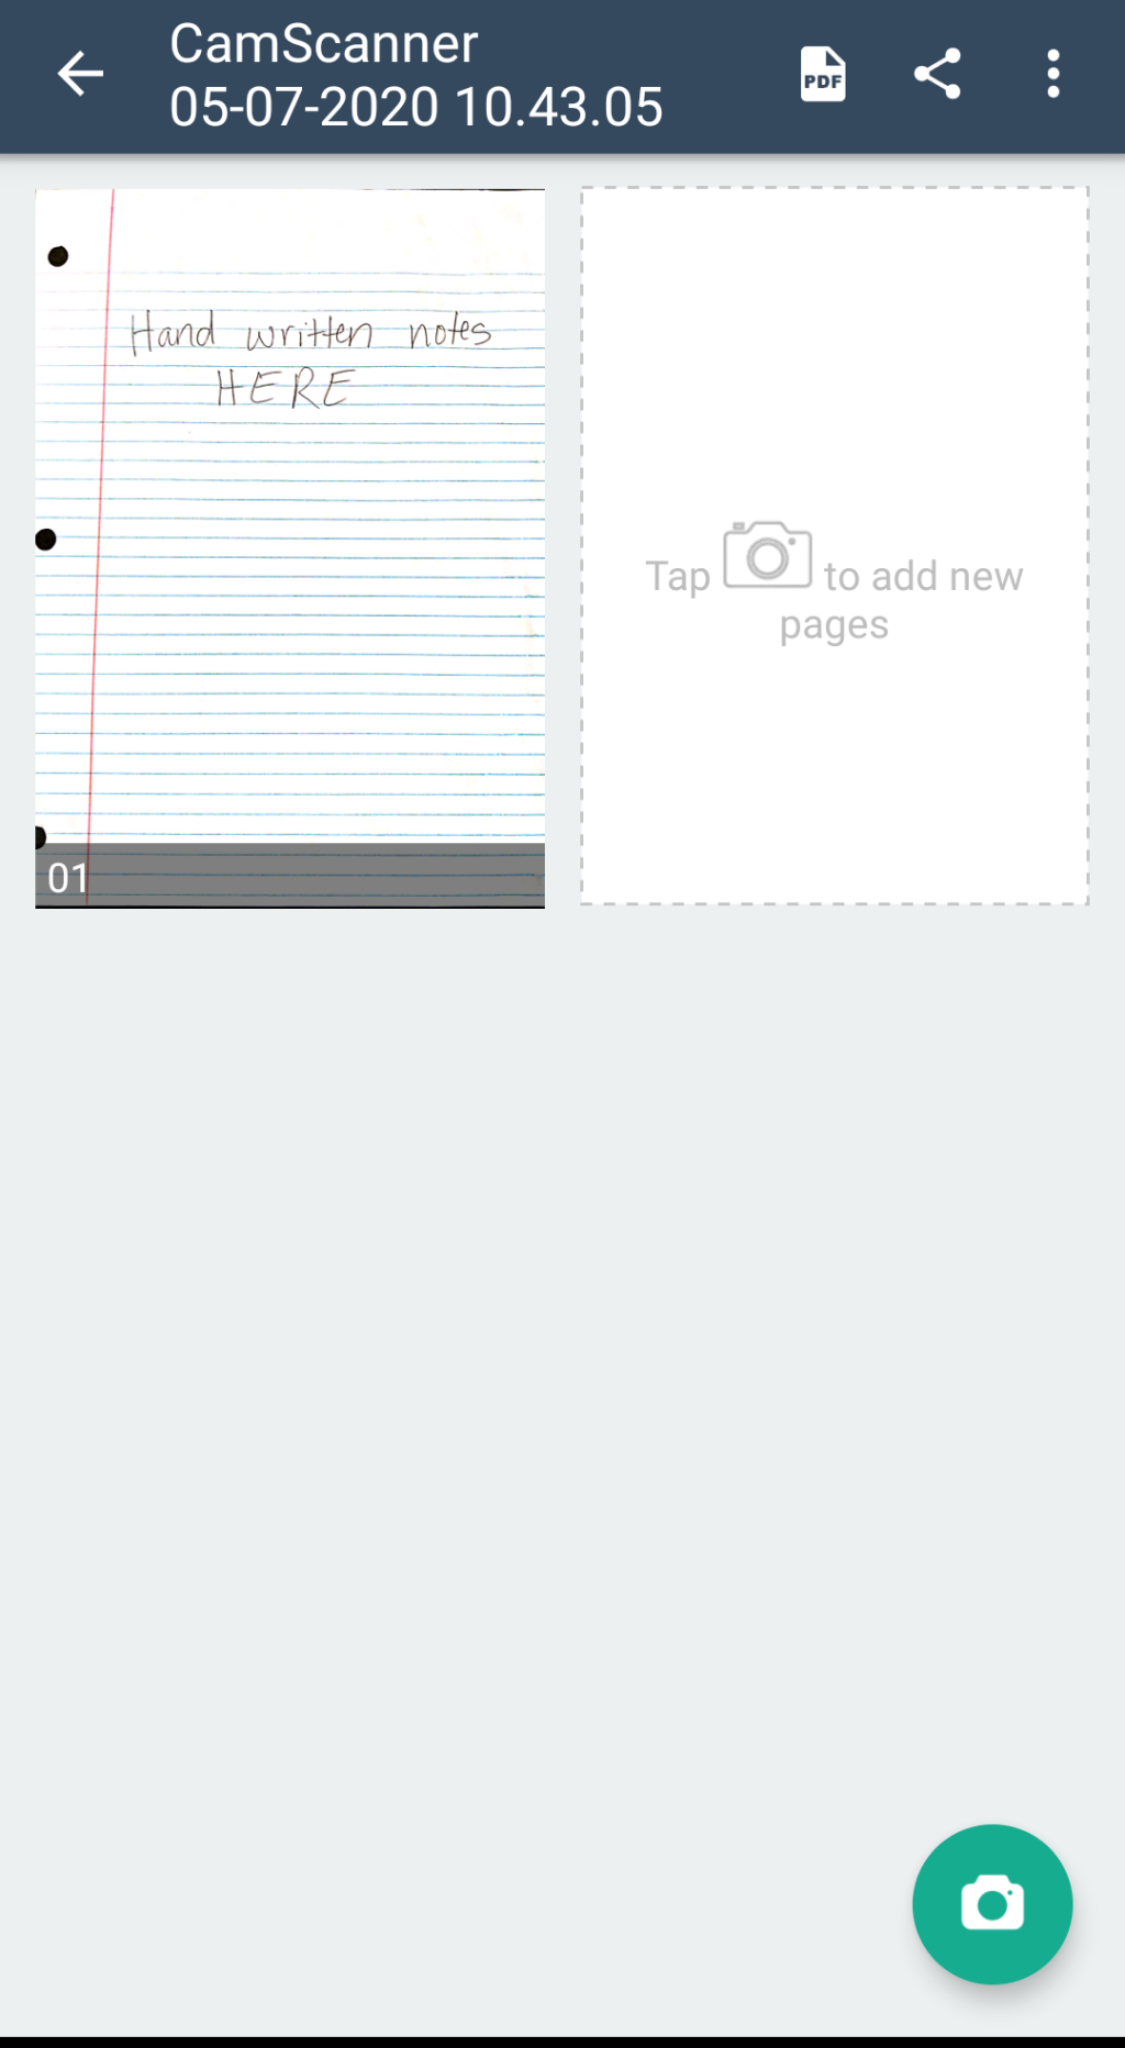
- When you are done scanning in all documents, you can click the Share button for options to share the document.
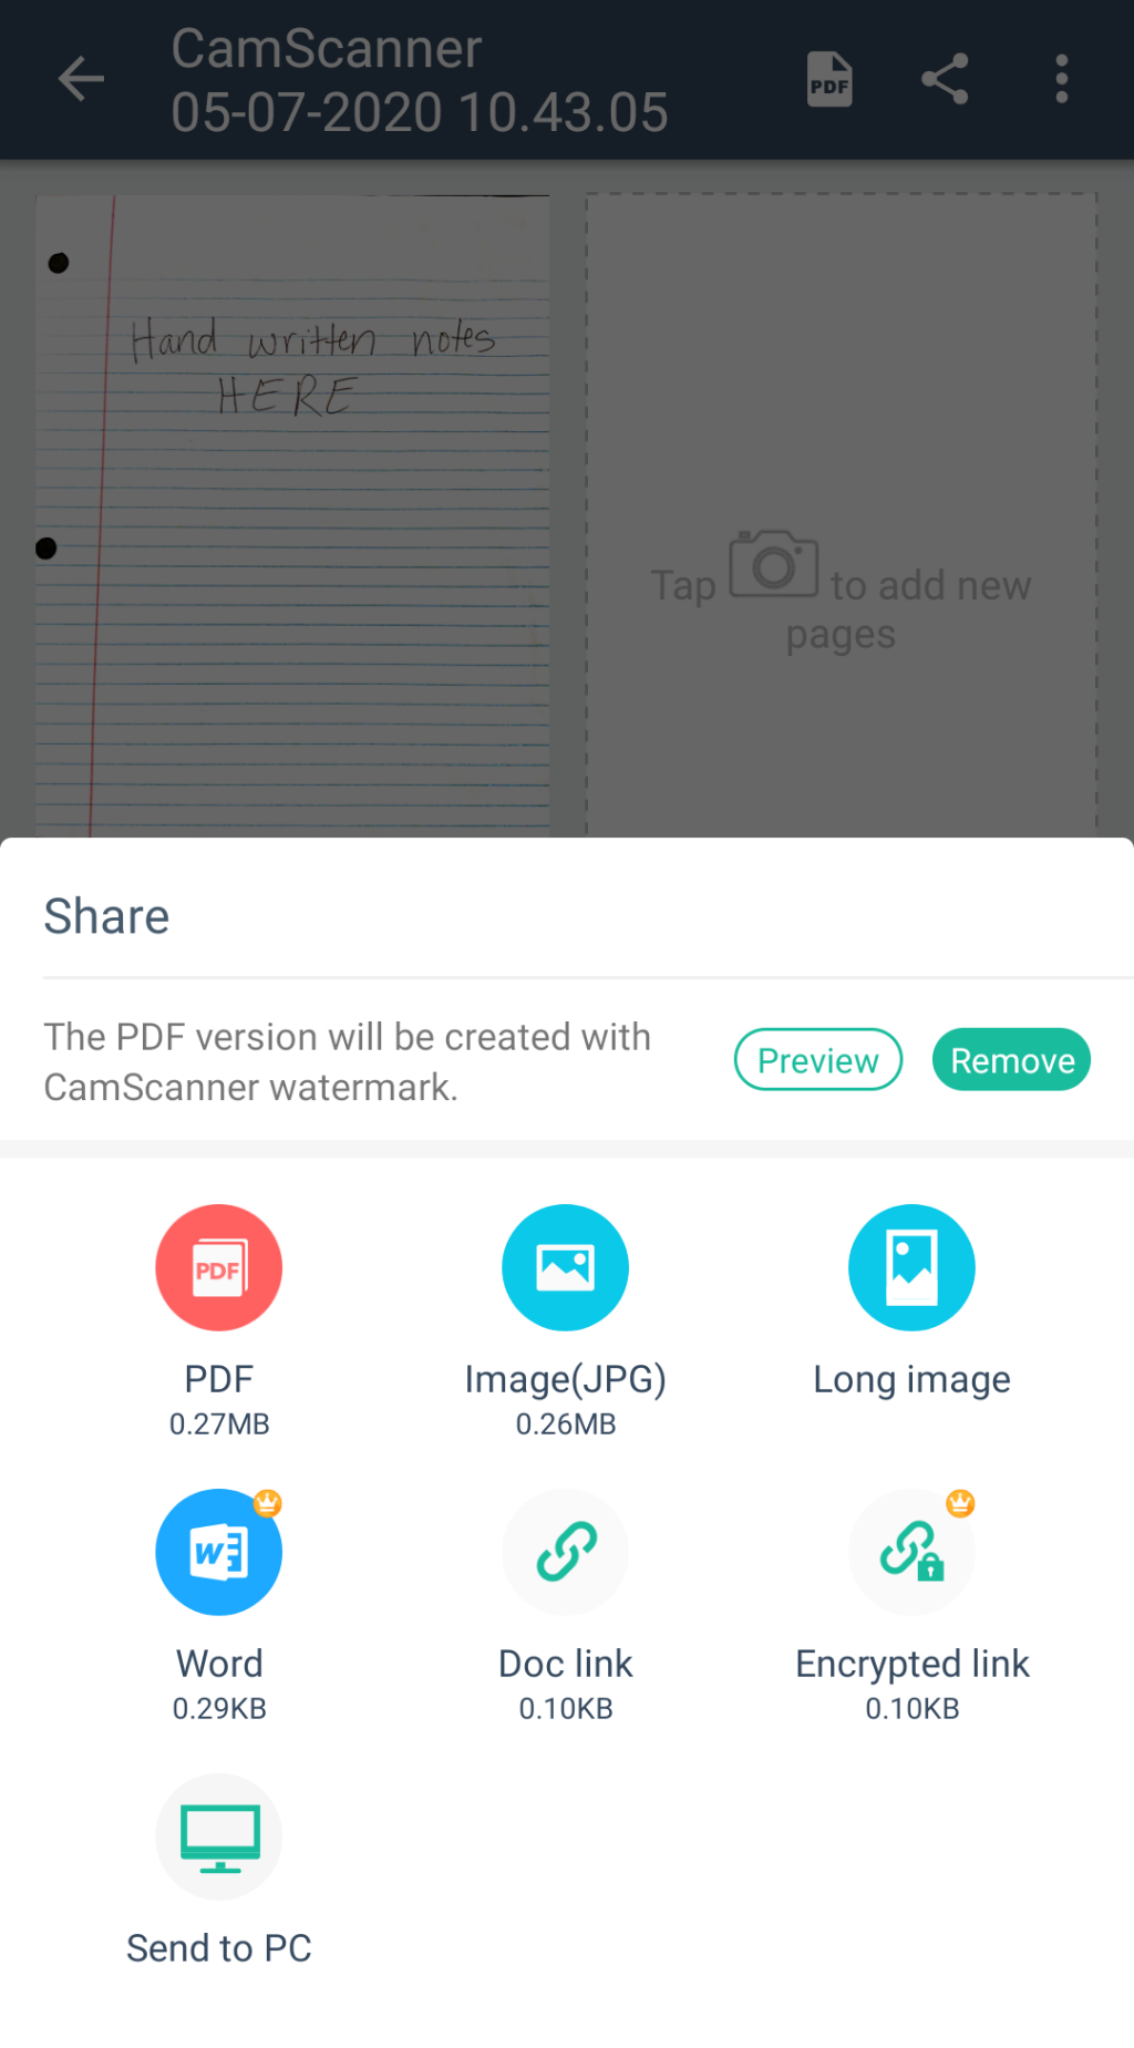
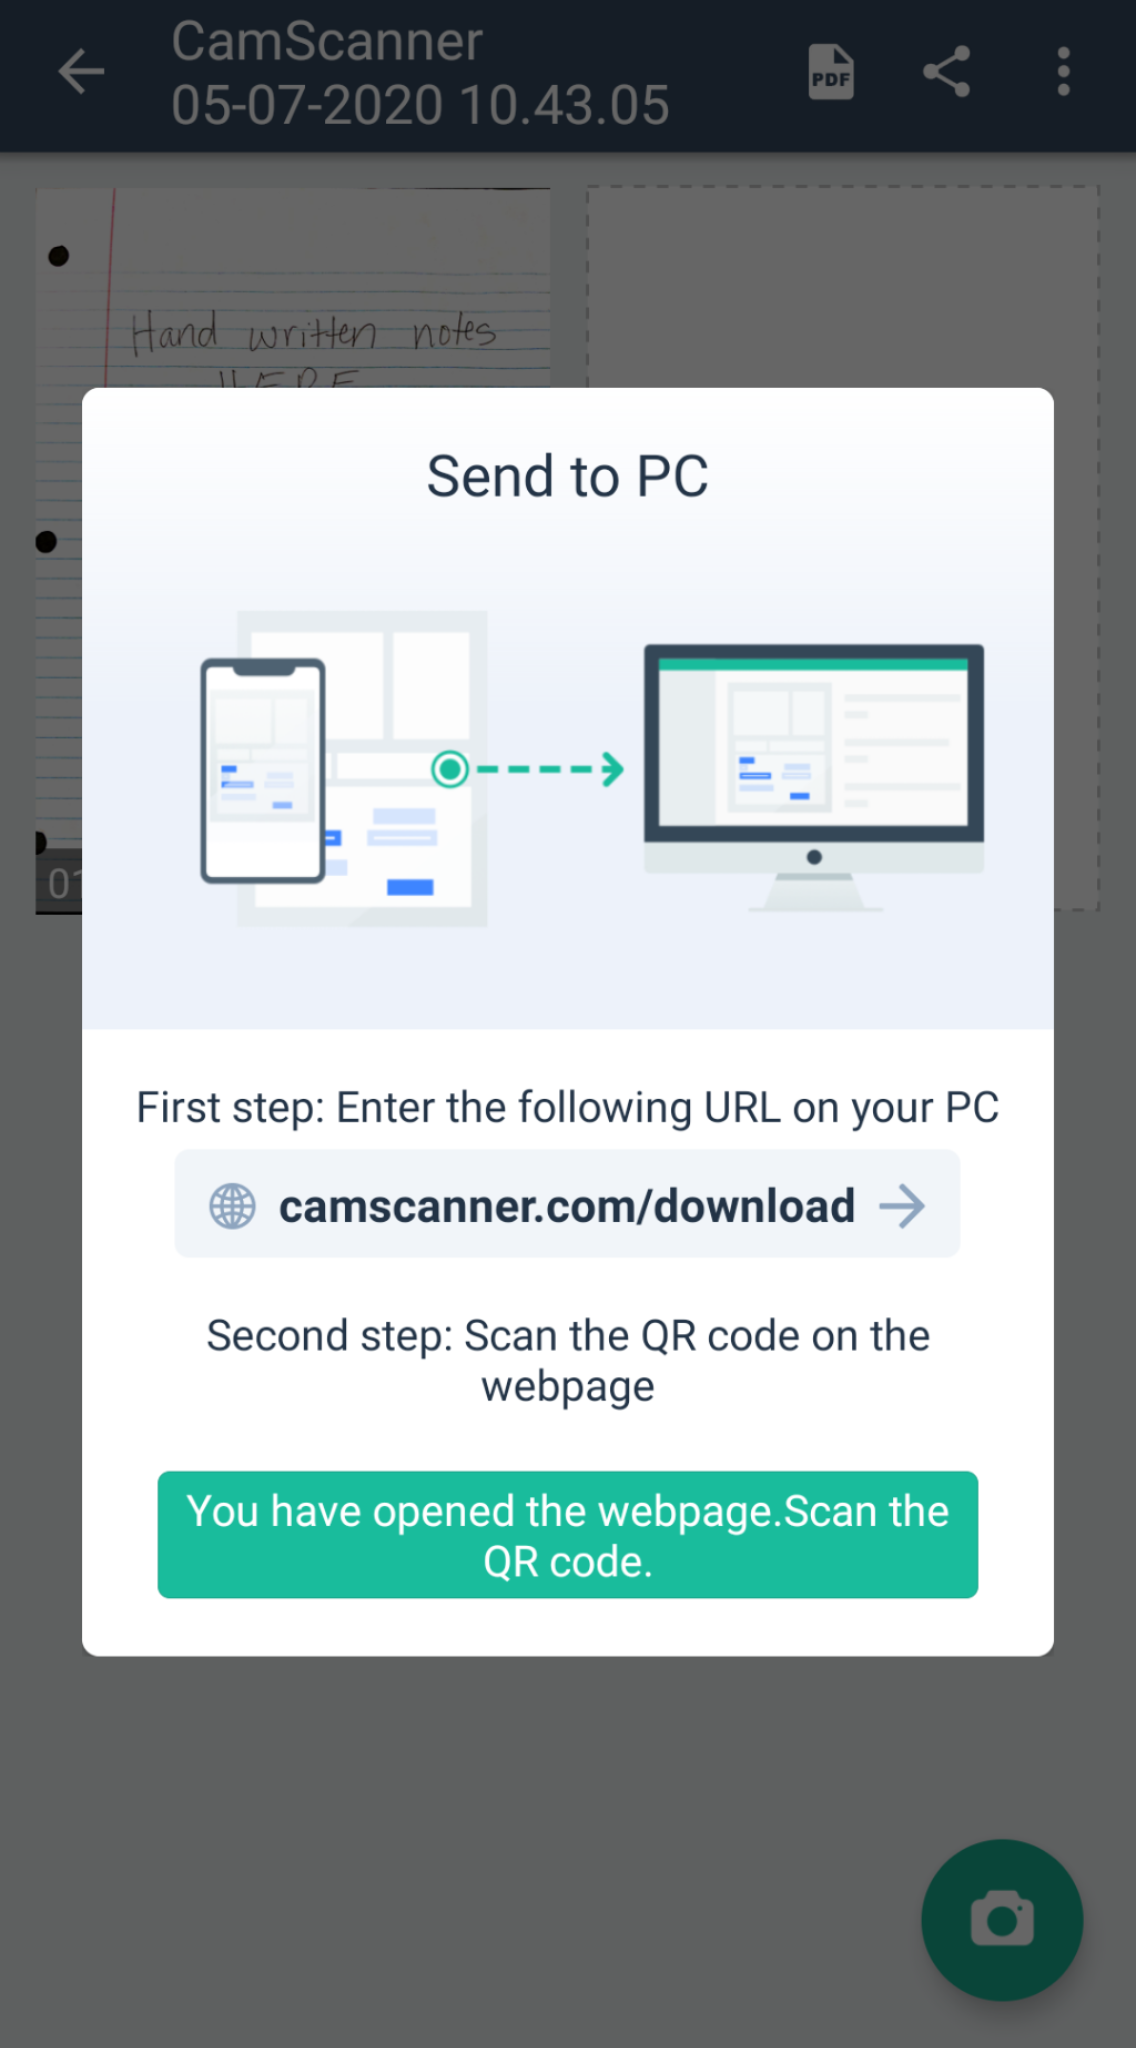
- One option that is useful in the Share menu is Send to PC.
- If you click the Send to PC share option, there will be directions on the screen to send it to your PC where you will have the opportunity to download the PDF to your computer.