

Windows 10
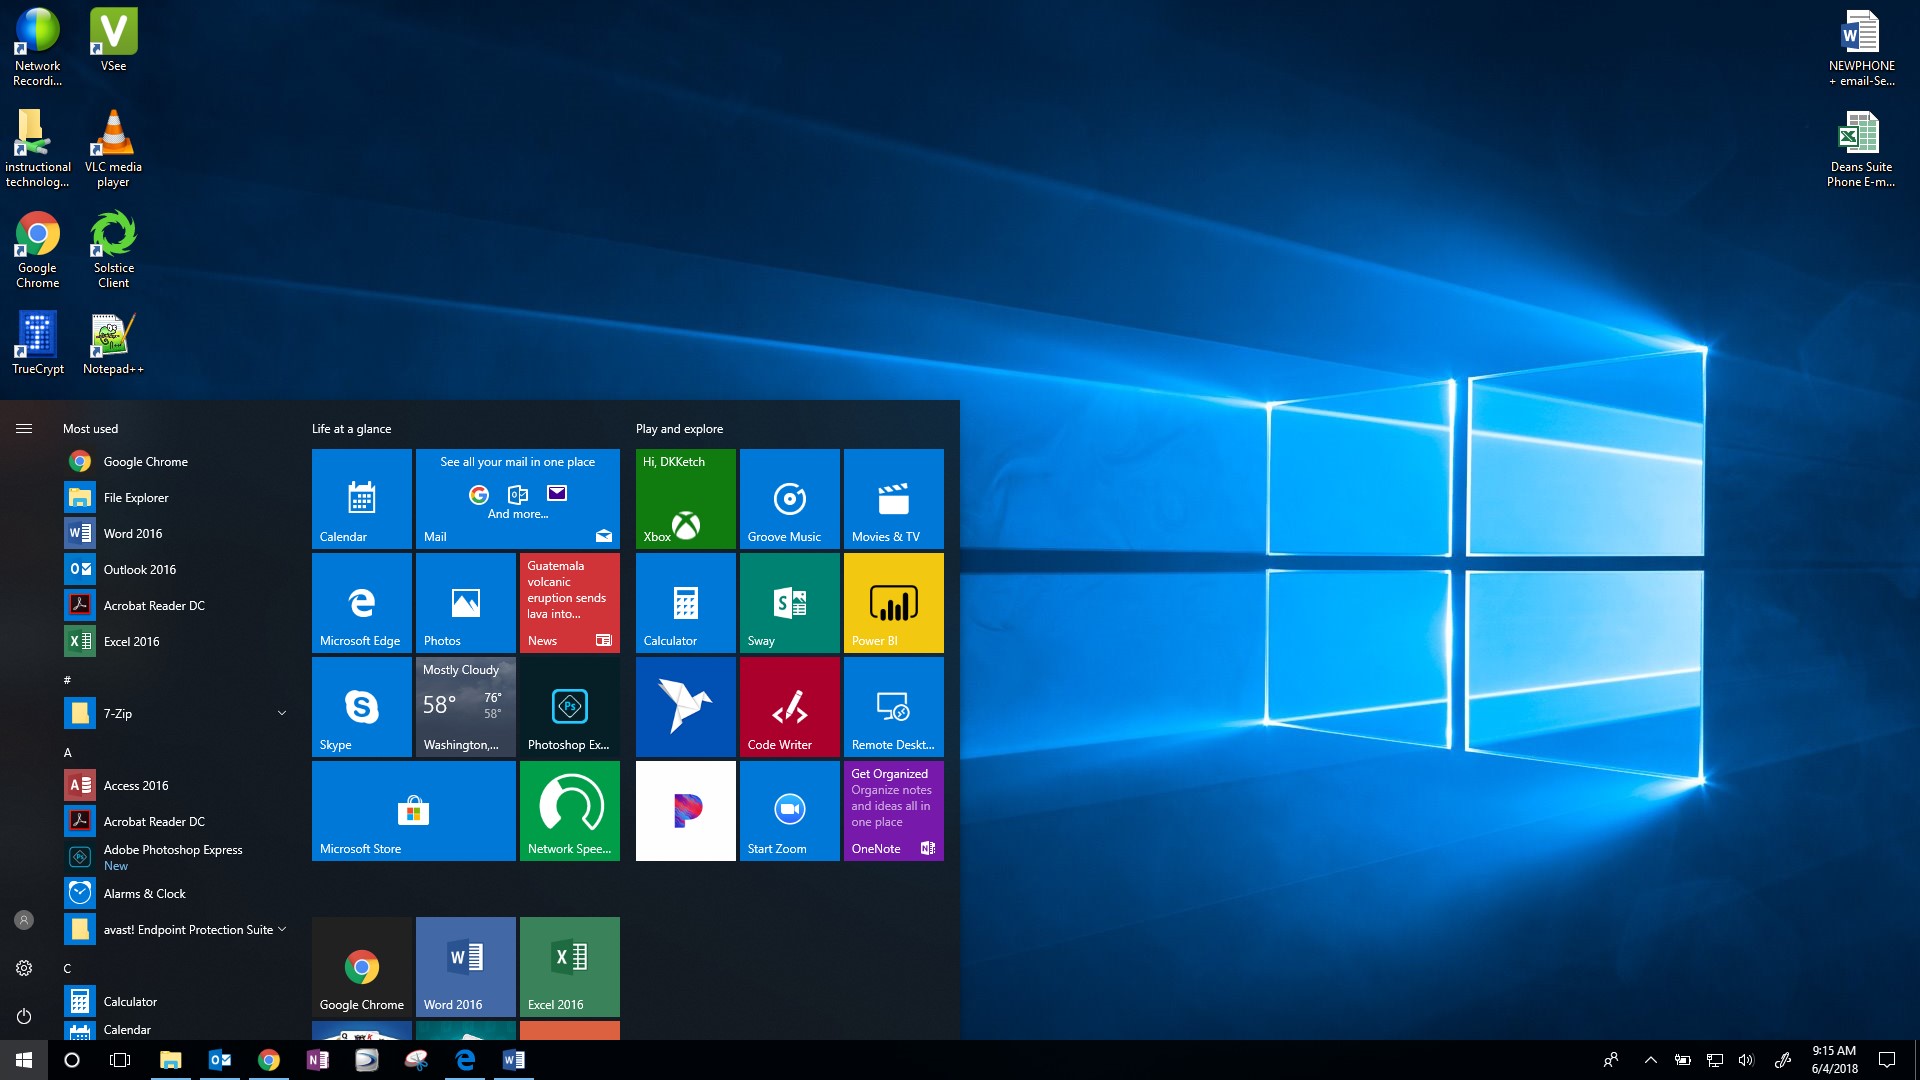
All apps and folders in the system will be listed on the Start Menu button. Acess this by selecting Windows logo "Start" button, or pressing the "Windows logo" key on the keyboard.
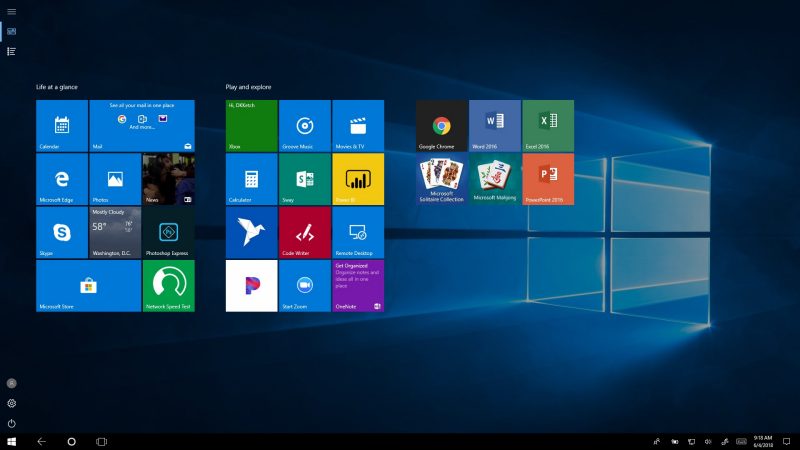
The Windows Store apps can be run on the desktop as windows or run in the old full screen interface by switching to the "Tablet mode".
Apps gestures can now be performed on the desktop and run synchronously with other programs.
Running apps will no longer force full-screen interface.
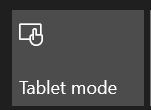
To change to the tablet mode:
- Click on the Notifications button

- Then to toggle Tablet Mode on and off click the Table Mode button
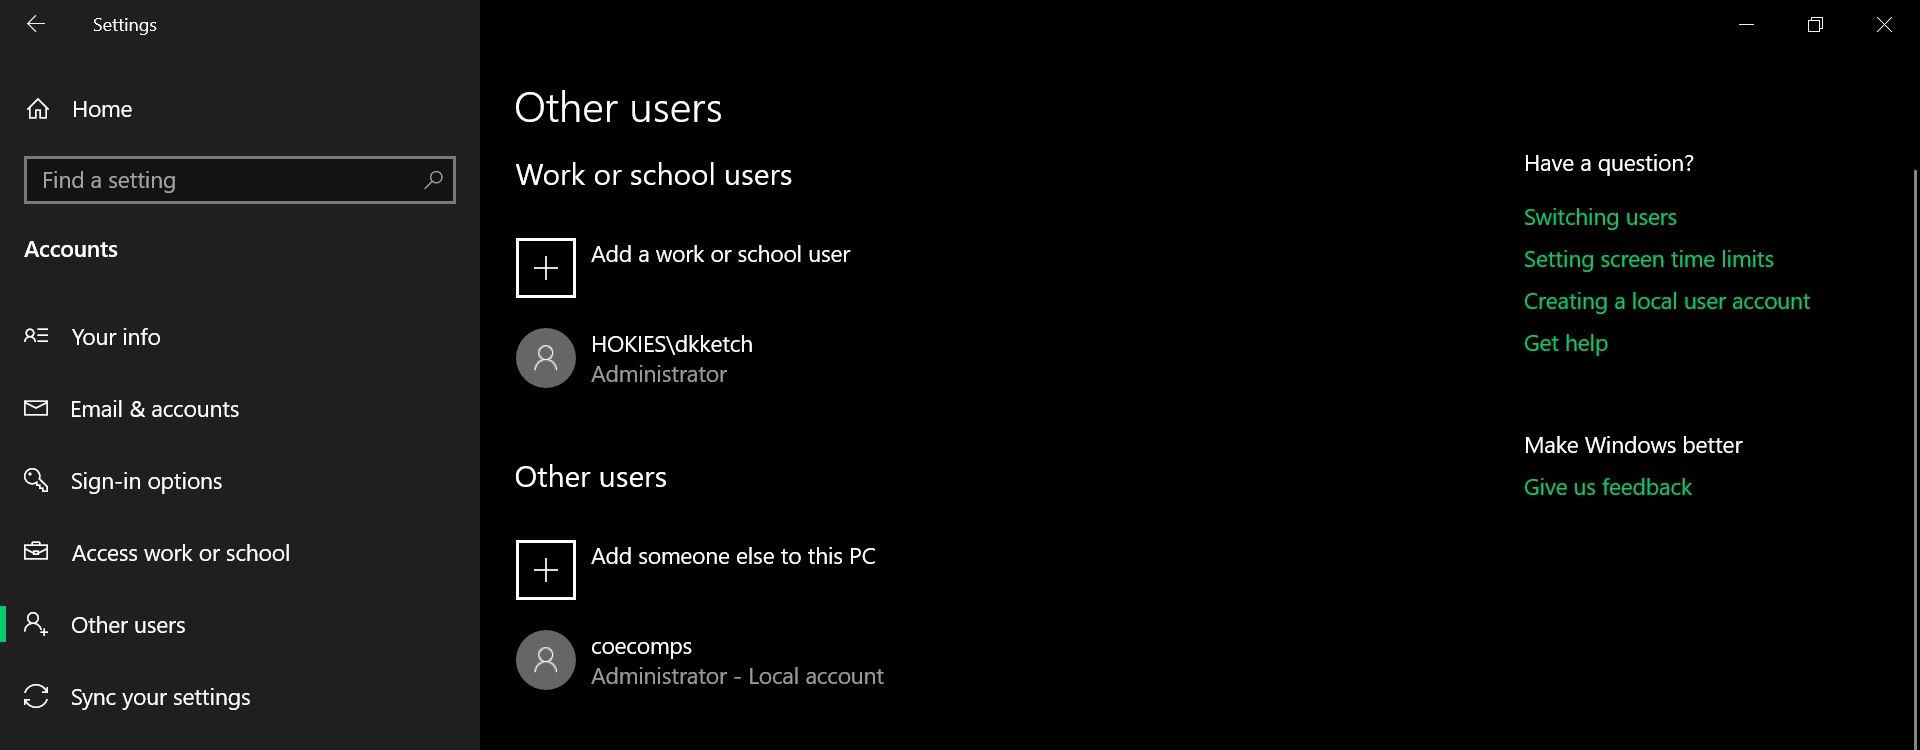
To add users to your device:
1. Select Start Menu -> Settings -> Accounts -> Other users
2. Select "[+] Add someone else to this PC"
Alternatively:
1. Search "add user" on the search menu bar
2. Select "Add, edit, or remove other users" from the search results list
NOTE: This is a different menu item from the usual Control Panel "User Accounts"
3. Select "Other users" in the accounts window
4. Select "[+] Add someone else to this PC"
On the next prompt, "How will this person sign in?" you may choose to add someone who already has an email account registered with Microsoft to log on to the device OR;
Alternatively, you could create a local account which will not require an email address or phone number.
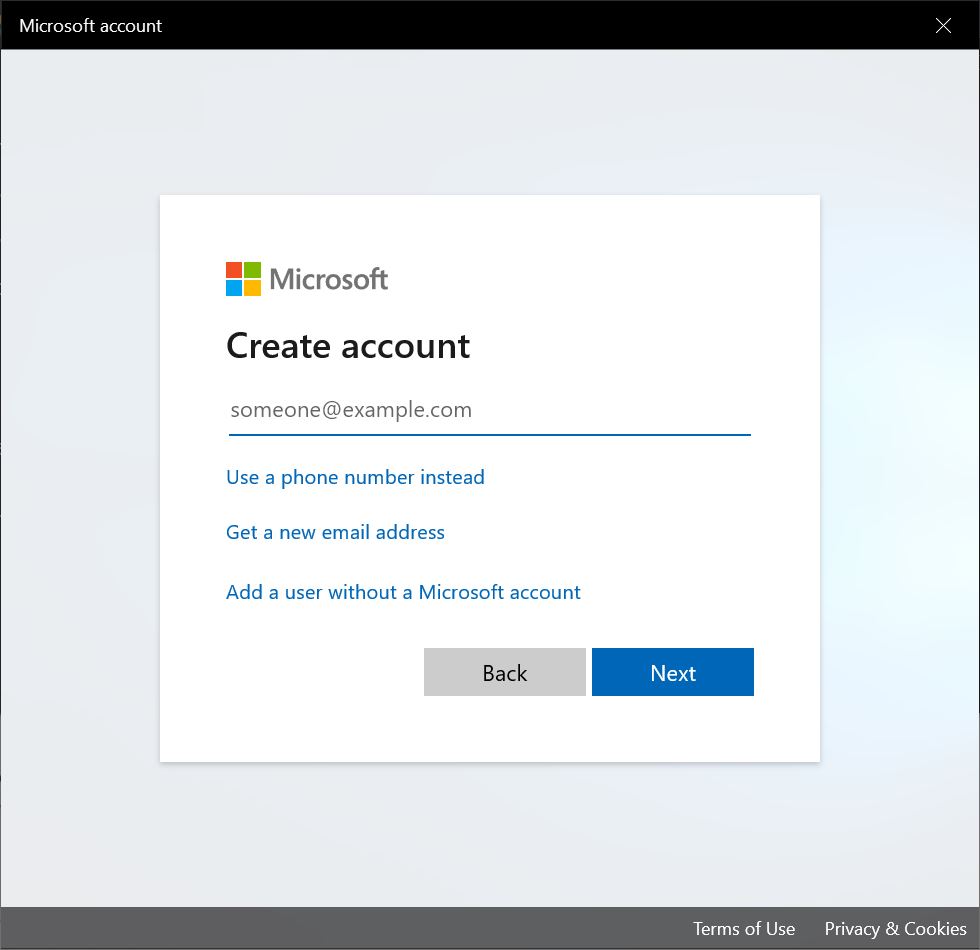
5. Ignore the box to enter your email or phone
6. Select the link at the bottom "I don't have this person's sign-in information"
7. Look at the bottom of the next prompt and select "Add a user without a Microsoft account" hyperlink
8. In the next prompt, fill in the new local account information. Enter the user name in the "Who's going to use this PC?" field. Add a user password in the "Make it secure" field.
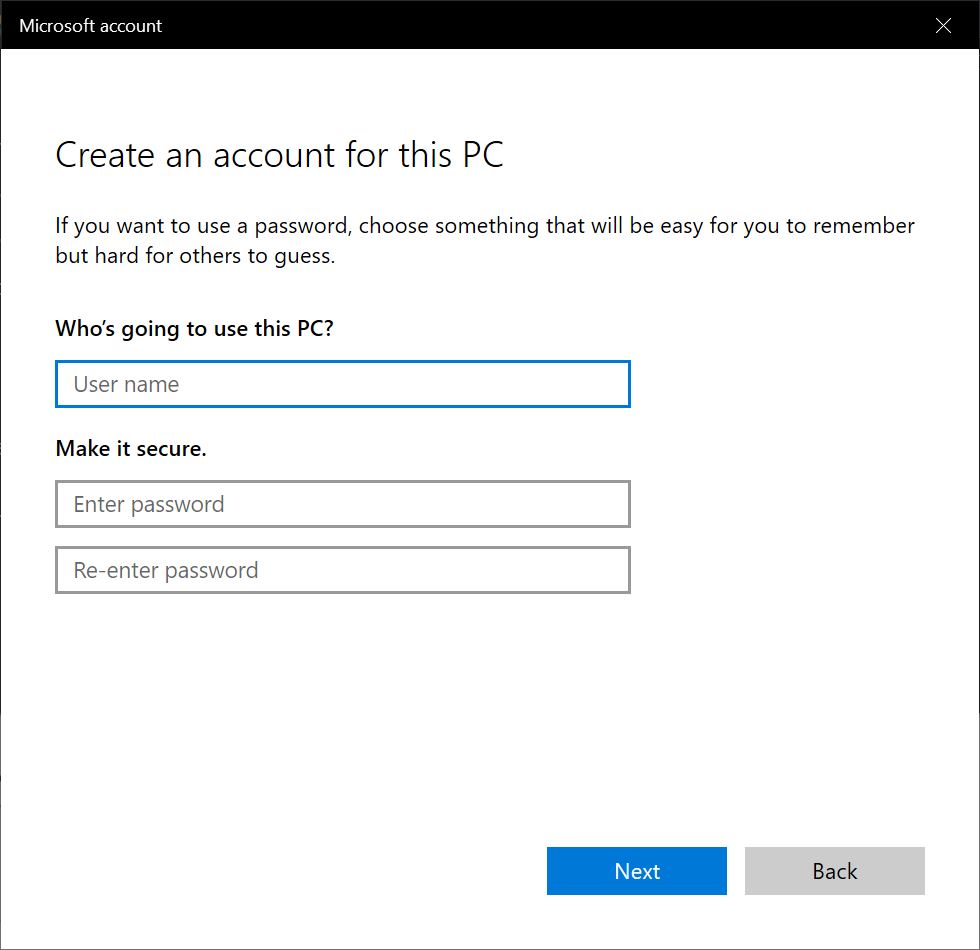
9. Select "Next"
This will automatically create a local user account and take you back to the original Account Settings home screen. You will see the user name of the new account you've created.
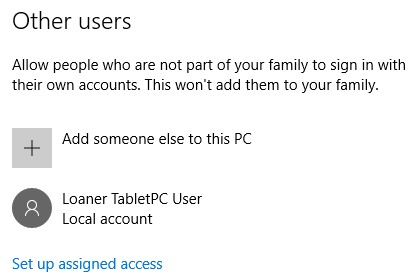
NOTE: The local account is by default a limited user account.
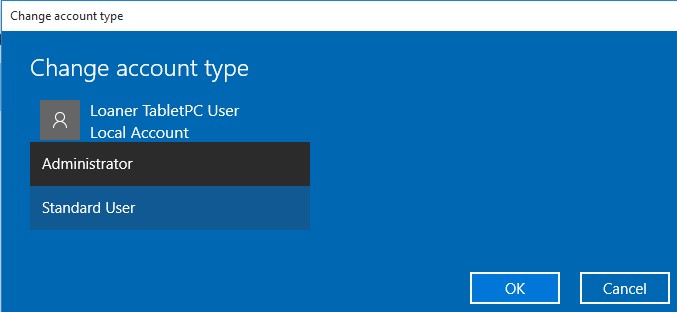
To change a local account from a limited user to an administrative account:
1. Select Start Menu -> Settings -> Accounts -> Other users
2. Select the account you want to change to toggle a menu below it
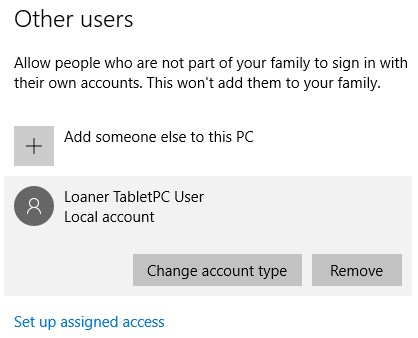
3. Select "Change Account Type"
4. Select account type from "Standard User" to an "Administrator" to make it an administrator who is able to make system changes and installations.
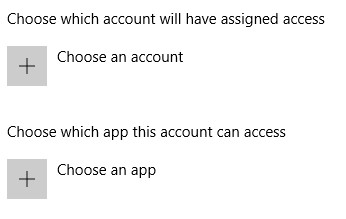
Assigned access is granting specific users to use one specific Windows Store app:
1. Select Start Menu -> Settings -> Accounts -> Other users
2. Select "set up assigned access" hyperlink
3. Select the account and the app you would like to assign access
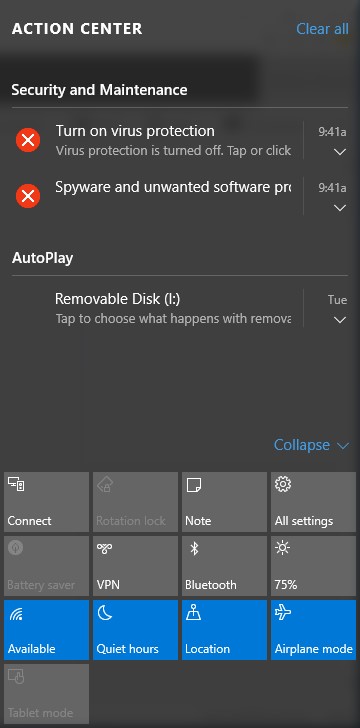
Action Center is the menu options you get when you swipe the Right-Hand edge of your screen or select the Notification Center button on the system tray. ![]()
Common commands in the Action Center include:
Connect (for WiDi, wireless display, & Audio Devices), Rotation lock, Battery saver, Brightness, Location, Tablet mode, Note, VPN, Wi-fi, Airplane mode, All settings, Bluetooth, Quiet hours
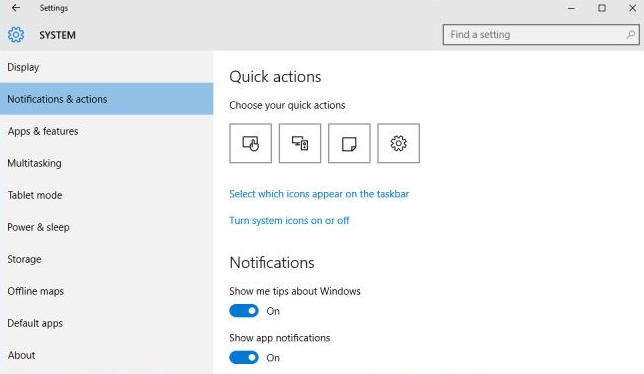
To show/hide buttons that are listed on the Action Center:
1. Select Start Menu -> Settings -> System -> Notifications & actions
2. Select which actions you would like shown/hidden by turning them on/off
3. "Select which icons appear on the taskbar" hyperlink
4. Change the order the commands appear by selecting the icons on the "Pinned quick actions" combo box
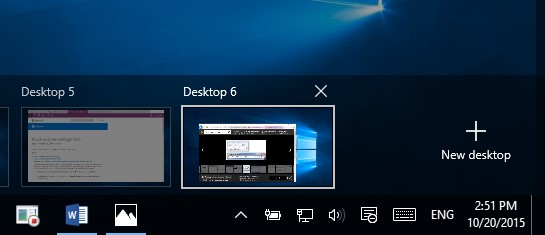
Virtual desktop allows for multiple workspaces. You can only run one desktop at a time; meaning multiple displays only show the selected desktop.
1. Select the task view button on the task bar ![]()
2. Select the "[+] New Desktop" button in the Task View menu options to add a new desktop

3. When desktops are terminated, the tasks are auto jumped to the next available desktop.
Monitor Display Settings
Windows 10 automatically adjusts to your best display settings, otherwise, to change the display preferences:
1. Select Start Menu -> Settings -> Display
Alternatively,
1. Right-click on the desktop
2. Select "Display Settings" from the menu list that pop-up
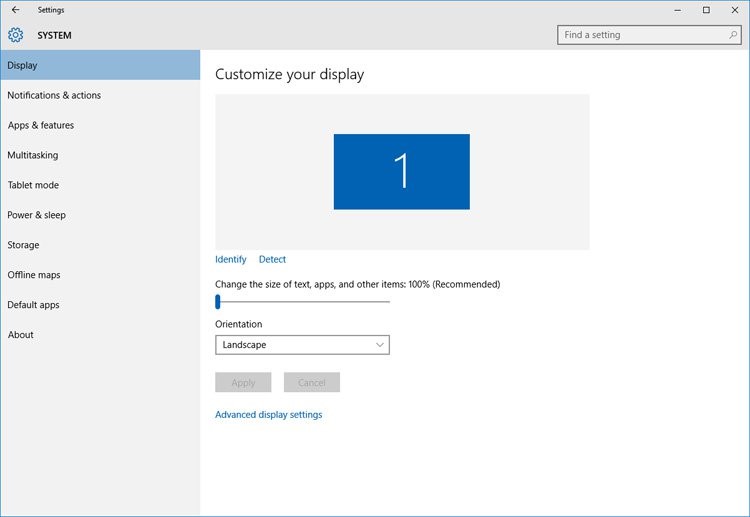
Adjust the display scaling using the slider under "Change the size of text, apps, and other items:"

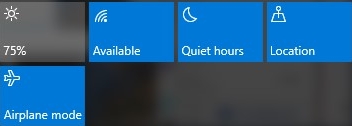
Screen Brightness
Screen brightness can be set to preset percentages of 25%, 50%, 75%, or 100% from the Notification Center menu options
1. Select the notifications icon on the sytem tray ![]()
2. Toggle through percentages by clicking the Brightness button in "Action Center"
Alternatively,
1. Right-click on the desktop
2. Select "Display Settings" from the menu list that pop-up
3. Adjust the brightness level using the slider under "Brightness level"

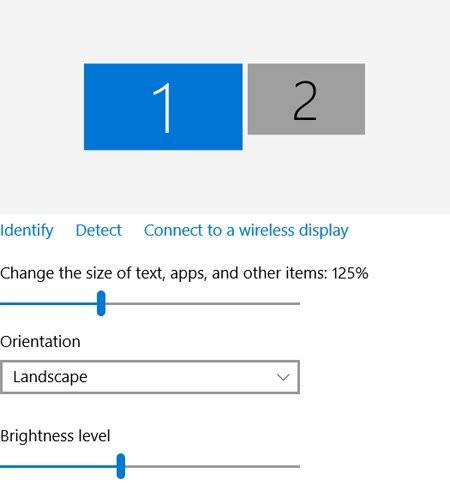
Multiple Displays Settings
Multiple display will be auto-detected and listed in the "Display Settings" window. With two or more displays, select the display you want to configure settings like scaling percentage, orientation, and brightness level.
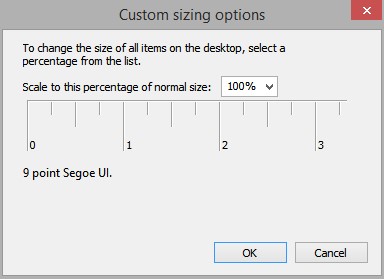
Advanced Display Settings
Advanced display settings are like the old Control Panel display settings where you can change the DPI (dots-per-inch) and the size of menu/icon/window items.
To change the settings:
1. Select Start Menu -> Settings -> Display
2. Select "Advanced display settings" link at the bottom of the system settings window.
Alternatively,
Navigate to the Control Panel -> Display to find the same items to adjust
1. Press the Windows button ![]() + P key
+ P key
2. Choose multiple display modes whether to "Duplicate", "Extend", or use "Second Screen only"
3. Select "Connect to a wireless display" link just below the listed displays to connect to a wireless display
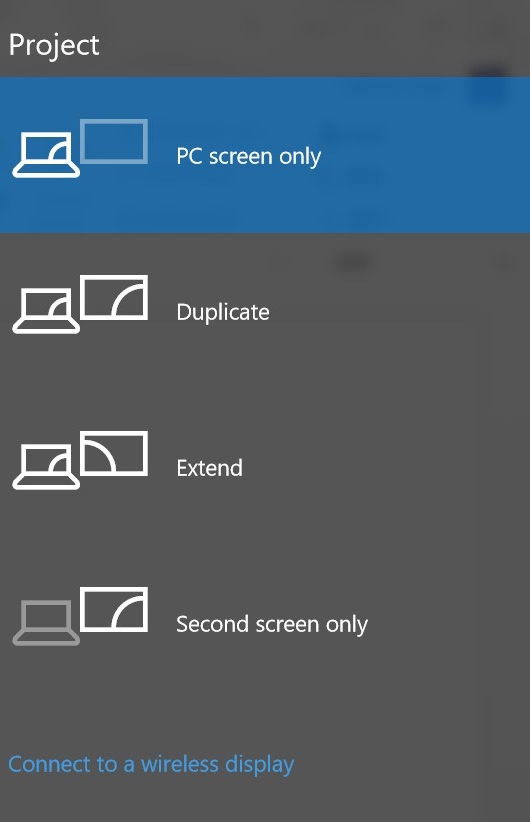
Allows for 'miracast streaming' to directly output what is on your screen to displays/projectors with wireless receiver.
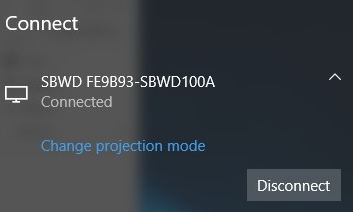
Multiple displays/wireless displays can also be toggled from the Notification Center button ![]() on the system tray by:
on the system tray by:
1. Select Notification icon -> Connect 
2. A list of available Wi-Di devices will be displayed. Select your wireless display
3. Select "Change projection mode" hyperlink to choose whether to "Extend" or "Duplicate" your desktop
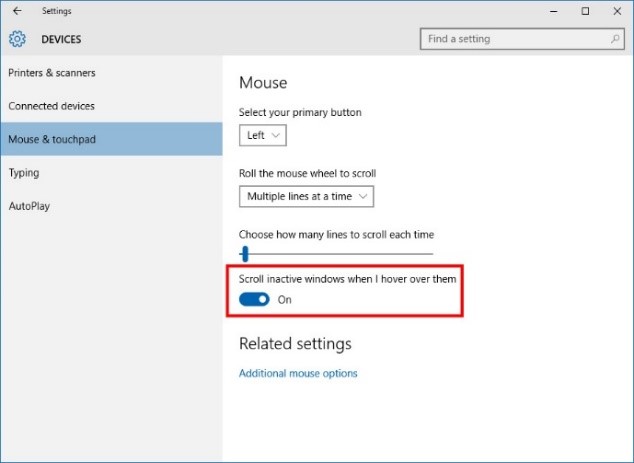
This feature allows for scrolling of background windows and folders when you hover over them.
To change the settings:
1. Select Start Menu -> Settings -> Devices -> Mouse & Touchpad
2. Turn on the button for "Scroll inactive windows when I hover over them"
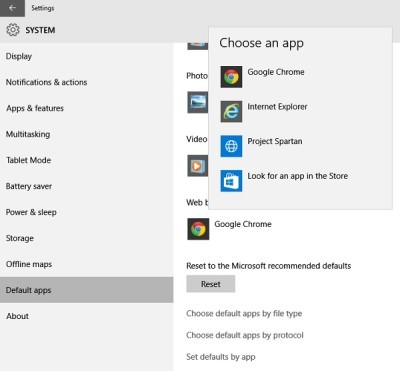
To set default programs and apps:
1. Select Start Menu -> Settings -> System -> Default apps
2. Select the programs or apps you want to use by clicking/tapping them and a menu will pop-up with other possible replacements
3. Defaults can be set for Photo Viewer, Calendar, Email, Video Player, & Web brower
4. You may also "Look for an app in the Store"
5. Select to assign default apps by file type or protocol
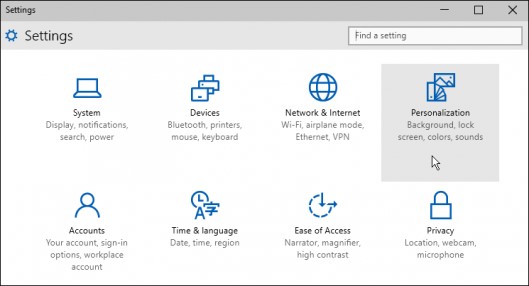
The alternative to the Control Panel is the Settings menu options.
Select Start Menu -> Settings -> Personalization
From the Start Menu -> Settings, you can change: Time & Language, Ease of Access, Privacy and Update & Security settings.
Talking to Cortana
To activate Windows 10 digital assistance, speak the command "Hey Cortana"
Ask any question and wait for Cortana's response
"Hey Cortana, what is the weather like?"
"Hey Cortana, search the web for Microsoft."
"Hey Cortana, turn on/off Airplane Mode."
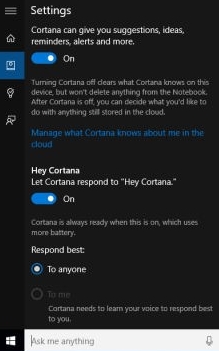
Things to tweak and Cortana
Enter the search term "Cortana" and choose "Cortana & search settings" from the listed search results.
1. Click the Cortana Settings button
2. You may turn Cortana on/off
3. You may also select the hyperlinks to configure "Manage what Cortana knows about me in the cloud" or "Bing SafeSearch settings" or "Other privacy settings"
4. Other privacy settings toggles permissions between you, the device, and the apps installed including location and calendar
NOTE: Cortana is embedded with the search features of your Windows OS. Disabling or turning off most of its features may minimize Windows search capability.
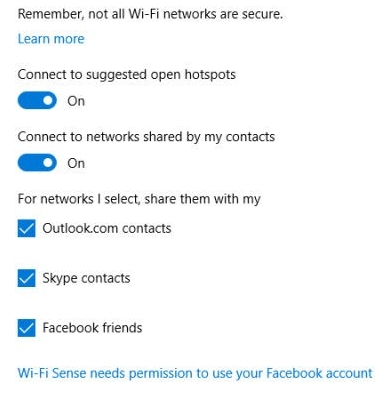
This feature allows for connection to nearby Wi-Fi networks or networks of your friends.
It is activated whenever you connect to a new network and asks whether you would like to share it with others. You can disable it later through the settings menu options.
To change the Wi-Fi sense settings:
1. Select Start Menu -> Settings -> Network & Internet -> Wi-Fi -> Manage Wi-Fi settings
2. Select any of the listed Wi-Fi hotspots available and choose whether to turn password sharing off
3. You may also uncheck the options to share your networks with Outlook, Skype, and Facebook contacts
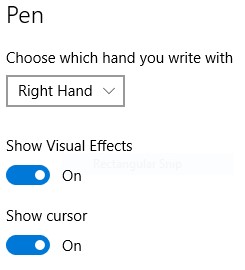
For pen enabled devices, you can change orientation whether you are Left or Right handed:
1. Select Start Menu -> Settings -> Devices -> Pen
2. Choose which hand you write with from the drop down menu
To ink in the Edge browser:
1. Launch the Edge web browser
2. Select the "Make a Web Note" button  at the top right end of your browser

The browser uses the MSHTML rendering engine which is faster and leaner than the previous IE.
Launching the Edge browser starts in tabs with your most visited websites as well as guess-timation/suggestion of sites generated from your browsing habits.
Launching the Pen and Touch settings on the Edge browser gives you extra tools to annotate, highlight, erase, type notes, screen grab, save and share your inked or typed annotations, and more.
Snipping Tool
This is the usual screen capture tool. A new feature allows you to take snaps after 1, 3, or 5 second delays.
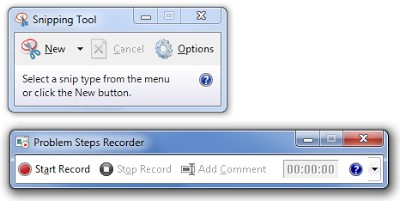
Steps Recorder
Steps Recorder is an advanced video screen capture tool that auto-generates the processes/steps/actions/tasks you perform. It is a key logger, screen capture and annotation tool.
To activate Steps Recorder:
1. Select Start Menu -> All apps -> Windows Accessories -> Steps Recorder
2. Select "Start Record" to begin the recording